DFT with Android app
Using the Android NDK and Open Computer Vision library examples I managed to make an app that takes the Discrete Fourier Transform in real time with your Android device’s camera and displays its magnitude spectrum.
The app was tested on a Motorola Xoom running Android 3.2.1. OpenCV has an Android version, the OpenCV version I used was 2.3.1.
The Code
The OpenCV Android version comes with several examples, there are also several image processing OpenCV tutorials, I took the DFT example from here and modified to make it work with the OpenCV example called “Tutorial 2 Advanced – 1. Add Native OpenCV”
Simply modify your jni_part.cpp file to the following, compile and upload.
#include <jni.h>
#include <opencv2/core/core.hpp>
#include <opencv2/imgproc/imgproc.hpp>
#include <opencv2/highgui/highgui.hpp>

using namespace cv;

extern "C" {
JNIEXPORT void JNICALL Java_org_opencv_samples_tutorial3_Sample3View_FindFeatures(JNIEnv* env, jobject thiz, jint width, jint height, jbyteArray yuv, jintArray bgra)
{
    jbyte* _yuv  = env->GetByteArrayElements(yuv, 0);
    jint*  _bgra = env->GetIntArrayElements(bgra, 0);

    Mat mbgra(height, width, CV_8UC4, (unsigned char *)_bgra);
    Mat I(height, width, CV_8UC1, (unsigned char *)_yuv);


	// make multichannel matrix planes
    Mat planes[] = {Mat_<float>(I), Mat::zeros(I.size(), CV_32F)};
    Mat complexI;
	// make multichannel matrix of complexI
    merge(planes, 2, complexI);
	// compute DFT
    dft(complexI, complexI);
	// split into real and imaginary part
    split(complexI, planes);                   // planes[0] = Re(DFT(I), planes[1] = Im(DFT(I))
    magnitude(planes[0], planes[1], planes[0]);// planes[0] = magnitude
    Mat magI = planes[0];
	// switch to log scale
    magI += Scalar::all(1);
    log(magI, magI);
	// get center of image
    int cx = magI.cols/2;
    int cy = magI.rows/2;
	// define regions of quadrants
    Mat q0(magI, Rect(0, 0, cx, cy));   // Top-Left
    Mat q1(magI, Rect(cx, 0, cx, cy));  // Top-Right
    Mat q2(magI, Rect(0, cy, cx, cy));  // Bottom-Left
    Mat q3(magI, Rect(cx, cy, cx, cy)); // Bottom-Right
	// swap quadrants
	// swap quadrants (Top-Left with Bottom-Right)
    Mat tmp;
    q0.copyTo(tmp);
    q3.copyTo(q0);
    tmp.copyTo(q3);
	// swap quadrant (Top-Right with Bottom-Left)
    q1.copyTo(tmp);
    q2.copyTo(q1);
    tmp.copyTo(q2);
	// Transform the matrix with float values into a
    // viewable image form (float between values 0 and 1).
    normalize(magI, magI, 0, 1, CV_MINMAX);

    convertScaleAbs(magI, magI, 200);
    cvtColor(magI, mbgra, COLOR_GRAY2BGR,4);

    env->ReleaseIntArrayElements(bgra, _bgra, 0);
    env->ReleaseByteArrayElements(yuv, _yuv, 0);
}

}
The Results
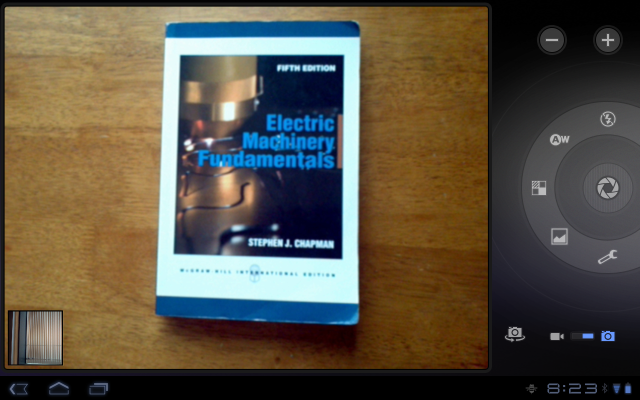
The following are a set of photos taken with the default Android camera app and their respective magnitude spectrum taken with the DFT magnitude app.
There are two setting when you are using an android tablet when running apps, full screen mode and original zoom. The full screen mode is slower for all apps (from what I’ve seen) so here am running the original view mode which is why there are black rectangles on the side.

the app will take the DFT magnitude spectrum of this book

The DFT magnitude from the book shown above
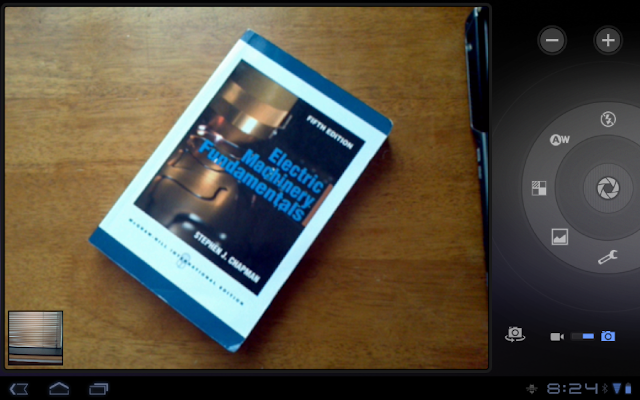
Now what if we rotate the book?

rotated book
As expected! We get a rotated magnitude spectrum.

DFT magnitude of rotated book
